Stuffing and Covering of the Roller
Supplies
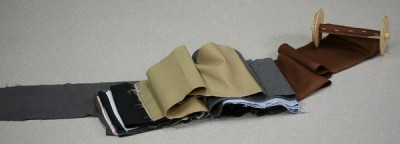
- Fabric strips the same width as the inside of the roller
- Old, used fabrics (terrycloth, denim, wool, various cotton fabrics, flannel), alternating between thinner and denser fabrics
- A piece of fabric in the colour of the pillow to finish the roll (width: width of the roller + 5 cm, length: circumference of the covered roller + 5 cm)
- Staples or pins to attach the start of the fabric to the roller
- A needle and thread
- About 1 metre of thread suitable for tightening
- Safety pin
Video of the stuffing and covering of the roller
Steps to Fill the Roller
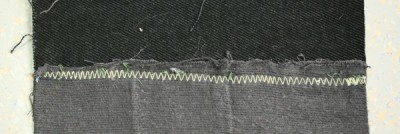
- Sew the strips of fabric together, for example with a zig zag stitch
- Sew alternate lengths of fabric of different qualities
- Make the strips about 9-11 m long, the exact length depending on the thickness of the fabrics and the axis of the roller and the desired circumference of the roller. For the example roller in the picture, 11 metres of fabric strips were used
- Fix the start of the fabric strip to the roller’s axis with pins or staples
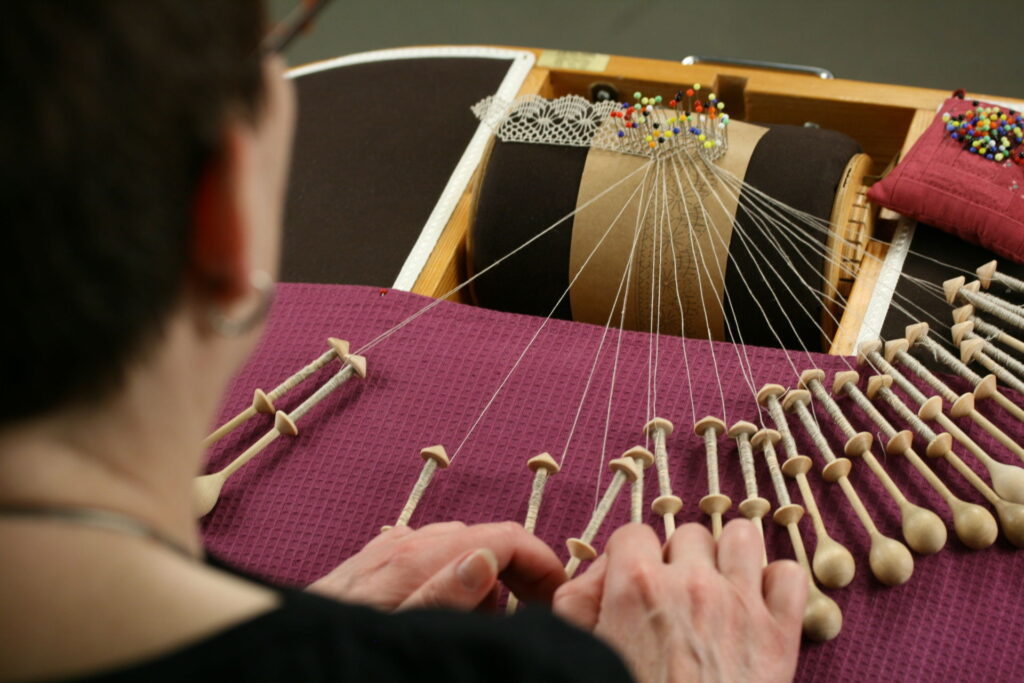
- The rolling is done, for example, on the floor and the roller is rolled towards the person doing the rolling
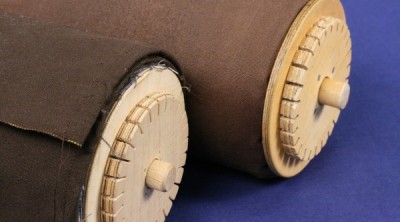
- The cogwheel is on the left when rolling
- The roller is suitably tightly wound when the needle sinks through the layers of fabric and remains firmly in place
- Sew the end of the fabric by hand
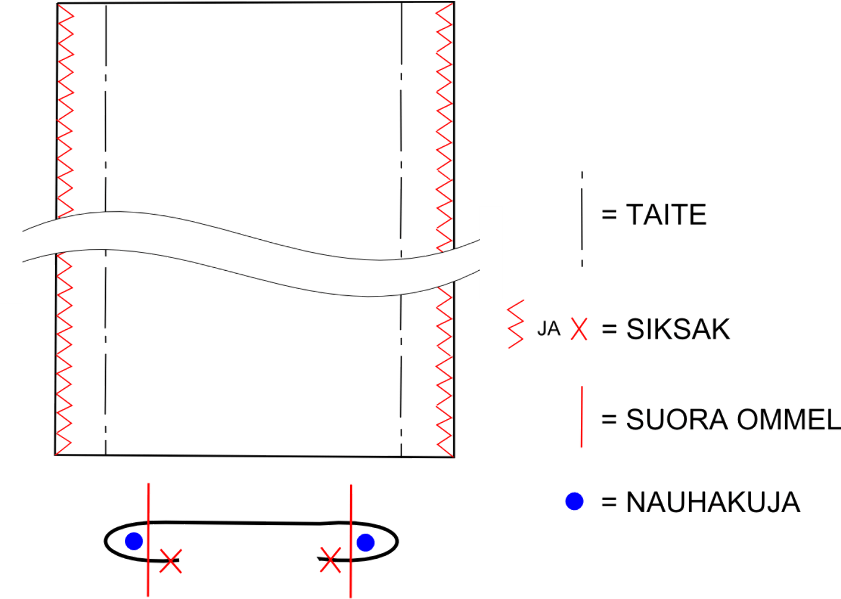
Sewing the Cover Fabric of the Roller
- Make casings for the thread by sewing 1,5 cm wide single fold hem to the cover fabric. Now you are left with the casings, meaning you have sewn, folded over tunnels, through which you can pull the thread.
- Sew the hems with a straight seam about 1 centimetre from the edge.
- In the casings insert the tension-resistat threads, for example extra strong thread
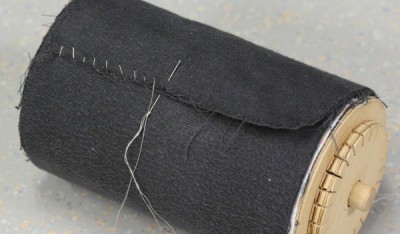
Covering the Roller
- take the roller in your left hand so that the cog is on the right
- wrap the fabric around the roller so that the visible end of the fabric lies on top of the roller, facing you
- tighten the threads of the casings so that the edge of the cover fabric is pressed between the layers of stuffing fabric and the roller on both sides
- twist the tensoin-resistant threads between the layers of stuffing fabric and the roller
- sew the fabric by hand, in the same way as the end of the fabric strips for the stuffing